Transformation through Outdoor Spaces: Rocío Villalobos
Our outdoor community is built upon adventure seekers. While sometimes this means spending time in harsh weather and challenging ourselves physically, other times it means having difficult conversations and changing our perspective. In this three-part series on The Outpost, we will share the stories of individuals redefining what it means to be outside.
Written by Luisa Vargas.
As a first-generation immigrant from Colombia, I was lucky enough to have parents who taught me the value of spending time in nature. However, the first time a friend called me “outdoorsy” I thought it couldn’t be true. I didn’t look like anyone who shopped at REI. Growing up, I was an artistic kid, not an athletic one. I’m afraid of heights and I’m brown.
Little did I know I was fed the same story as most people: That to identify as outdoorsy, you have to spend time outside doing physically draining activities like multi-day hiking trips, climbing up giant rocks or kayaking through rough waters. And that you’re white.
It took years to finally consider myself an outdoor enthusiast. Looking back, I realize I was just as outdoorsy then as I am now, but I kept wondering why it took me so long to realize this.
To explore that question, I talked with three incredible adventurers who defy the mainstream standards of being outdoorsy. Over the next few weeks, I’ll be sharing their stories. The first story is from Rocío, a trail runner, social justice advocate, mentor and native Austinite.
Although we barely scratch the surface, these are thirst-quenching conversations that reexamine how we ask questions about diversity in outdoor spaces. They share their journey of transformation in the outdoors and talk about how we can cultivate inclusive spaces that honor history and tradition.
Rocío Villalobos at Caprock Canyon State Park
When I first talked with Rocío Villalobos over Zoom, I instantly felt calming energy. As an avid trail runner, she spends a copious amount of time outside, but her true gift is blending her outdoor experiences with a commitment to social justice.
She currently works in the city of Austin’s Equity Office as an Immigrant Affairs Coordinator and has experience working with various environmental and social justice organizations including PODER (People Organizing in Defense of the Earth and Her Resources).
Rocío shares that her great grandparents were indigenous people from tribes in what we now call Mexico. Reconnecting with the land and her ancestors is one of the many reasons she finds spending time outside so impactful.
“My grandparents learned it was worth assimilating into this broader Mexican identity rather than holding onto their customs. For me, a part of going outside is reconnecting with the land and my ancestors,” Rocío says.
As we explore the reasons why she values spending time outside, she describes how simply having the time to be in nature is a privilege. Growing up, Rocío wasn’t outside much.
Her parents worked long hours and were worried about allowing their kids to wander alone. It wasn’t until she was an adult and faced depression that she turned to running as one of her remedies.
“It made me feel confident and shifted some of the internal talk that I know was really negative,” Rocío says.
Rocío participating in a trail race
As Rocío continued finding joy in outdoor spaces while doing social justice work, the two began merging. She worked in various environmental organizations and began mentoring girls with Explore Austin where she finds an opportunity to connect with young women who are developing their own connection to the land.
Mentorship is a big part of Rocío's life. She’s continually sharing resources and adventure gear with people who want to spend more time outside, particularly women of color.
When I asked Rocío why we don’t see more women of color in traditional outdoor spaces despite the growing interest, her answer was transformative.
Rocío suggests that instead of asking why we don’t see certain groups outside, we should be asking if communities are already spending time outdoors in ways that don’t fit the mainstream idea of what we think as outdoor time.
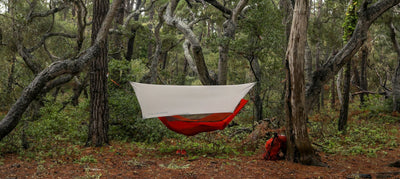
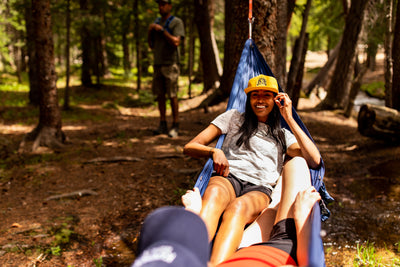
Spending time outside could be something as simple as preparing your soil for a garden or hanging in a hammock listening to the birds.
She describes the popular vision of the outdoors as, “Feeling like an almost hypermasculine idea,” where you have to do something physically draining.
According to Rocío, there is value in trying new, challenging things, but this doesn’t have to be the only way we enjoy the outdoors. The goal should be connecting to the land, and that’s going to look different for everyone. As we begin addressing inclusivity in these spaces, it’s important to remember we’re not here to force change upon people.
Rocío says the bigger questions are, “What do our institutions look like? What have they done to create barriers or opportunities to get to spend time in certain places?”
Addressing institutional change is an important part of racial equity work everywhere, not just in outdoor spaces. Many times institutions are out of touch with what is happening in their own communities and that becomes another layer of the problem.
She explains that social inequities are hundreds of years old and are going to take just as long to undo.
“Find a balance of being grounded in reality but still holding onto that hope of transformation,” Rocío says.
I believe Rocío excels at racial equity work and ultramarathons because both require preparation and endurance for a long and difficult path while still believing transformation is possible.
Redefining what it means to identify as an outdoorsy person will open doors for people to benefit from the transformative power of being outside, despite the restrictions placed by mainstream ideas.
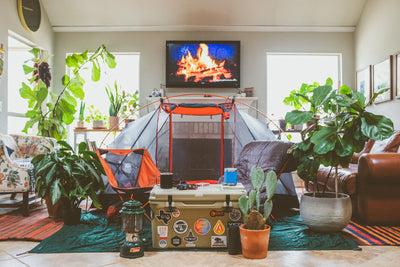
Next time you catch yourself wishing you had more time to spend outside, remember that your backyard and your hammock are waiting. Here you can explore some ideas on spending more time outdoors.
“How is this helping me develop a deeper relationship with the land? That’s what our goal should be.” -Rocío Villalobos
Organizations Rocío has worked with:
Austin Racial Equity Office
PODER
The University of Texas Multicultural Engagement Center
Explore Austin
Other organizations and companies supporting diversity in the outdoors:
Black Outside
Native Women’s Wilderness
Tawa Threads
Latinos Outdoors


